


This is the short version of how to edit your profile, watch the videos for a complete walk through using the editor, it’s icons and other details you’ll need to know to make the most of your newsletter.
![]()
Click the “Hamburger” icon
After logging in, click on the hamburger icon again to open the full menu.
Click on “Edit Your Profile and Blog”
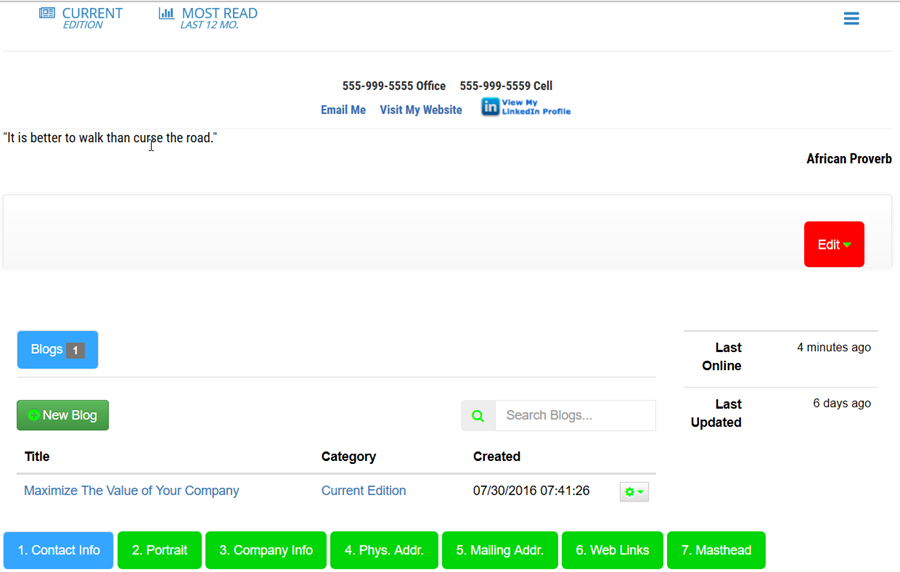
You’ll see this page:
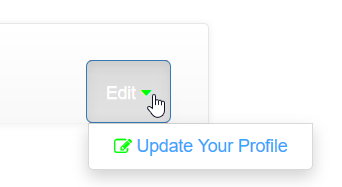
To edit your profile, mouse over the red EDIT button and a dropdown link to “Update Your Profile” will show. Click on that.
You will see the following page:
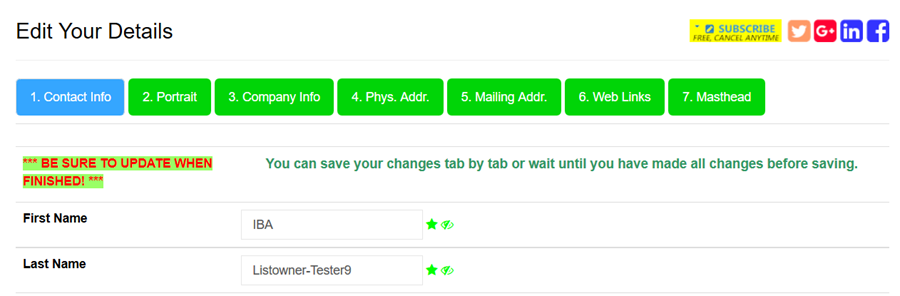
There are Seven tabs across the top that organize the information used to personalize your newsletter. Add, edit or change the contents as needed.
Each field has a pop-up tooltip you can see by hovering your mouse pointer over a field.

You will also see additional information on fields and what you need to know to fill them in properly.

SAVE YOUR CHANGES
When done editing all the tabs – do not save each tab, save all at one time when done.
SAVE YOUR CHANGES by clicking the UPDATE button at the bottom of any page.

After you click the Update button or to stop and make no changes to your profile, click the Cancel button. No changes will be saved.
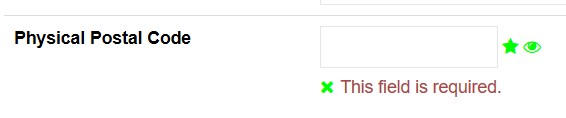
If you made any errors, the system will point out each one and let you change the content. Once the errors are corrected, click the Update button again.
If all entries are correct, you will be returned to the edit page and see the following confirmation that your changes were saved. If you do not see that, you did not click the Update button and your changes will not have been saved.

You have successfully edited your profile. The changes take effect immediately in the online web version of your newsletter. When the next month’s email newsletter is sent, your changes will appear in the email version and the web version.